This tutorial will help you set up your environment to help you get started with the training course.
For this we will use VirtualBox to run a Ubuntu Virtual Machine (VM) within your existing PC or Mac.
It would be ideal if your machine has at least 8GB of RAM (Memory) so we can allocate 4GB of that to the Ubuntu VM.
You will also need to check if your System is x32 or x64 – you can do this as follows:
MAC:
To tell if you are running the 32-bit or 64-bit kernel (which matters for some device drivers), launch System Profiler and click on the “Software” heading in the Contents section.
The line “64-bit Kernel and Extensions” will say “Yes” if you are running the 64-bit kernel and “No” if you are running the 32-bit kernel.
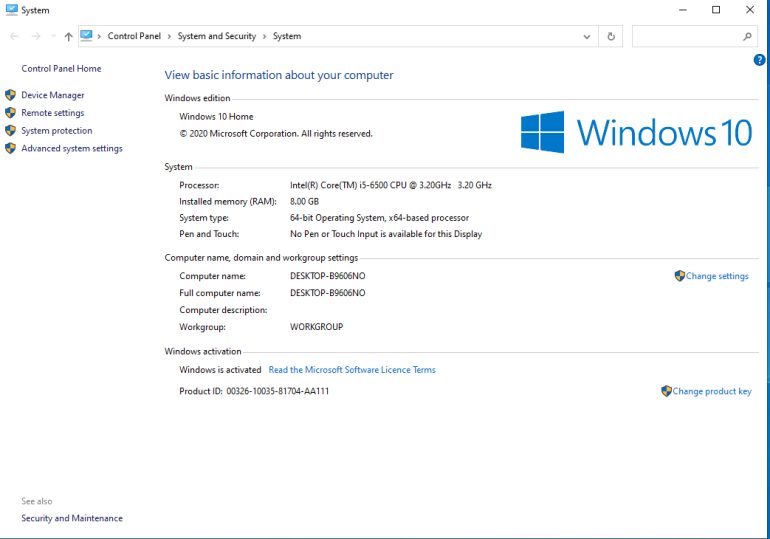
Windows:
Go to system setting from control panel and check as per image below
Installing and running a virtual machine on your existing machine takes up a significant amount of resources (CPU / Memory / HDD space).
So please ensure you have sufficient disk space available, a recent machine with i5 or better processor and at least 10GB of available HDD space.
Step 1: Download & Install VirtualBox
Download VirtualBox from here:
https://www.virtualbox.org/wiki/Downloads
Select your platform (PC or Mac) – download and install.
Step 2: Download Ubuntu ISO
Download from here:
http://www.ubuntu.com/download/desktop
Step 3: Create the VirtualBox VM
Download from here:
http://www.ubuntu.com/download/desktop
- Open VirtualBox
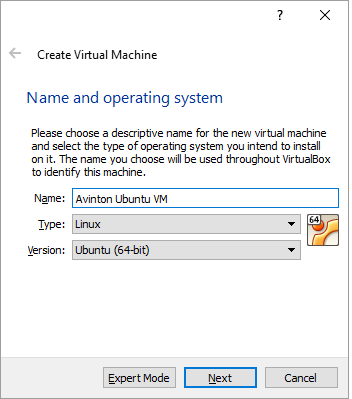
- Click New VM and Set the name and type:
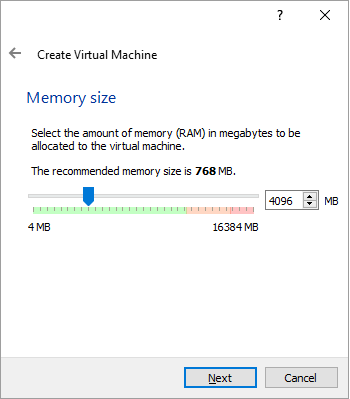
- Set the allocated memory size – this should be at least 4GB if possible but should not be more than 50% the total available memory
- Set Virtual HDD
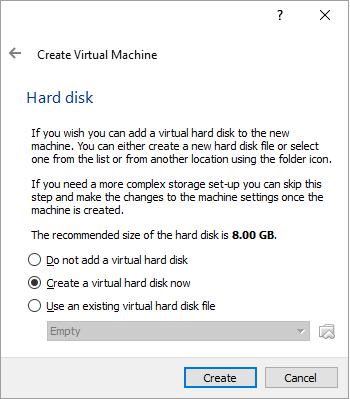
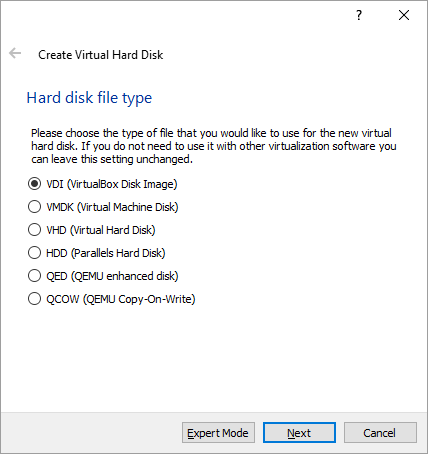
- Set Disk Type
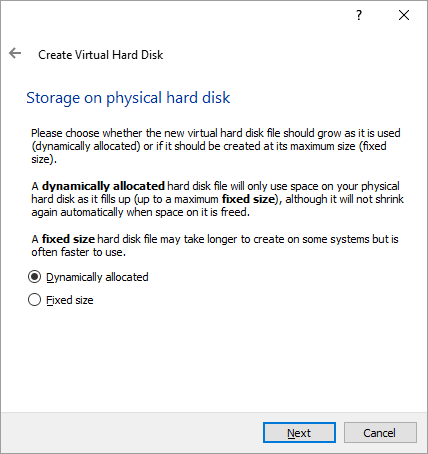
- Set Storage Type
- Set Disk Size to at least 10GB
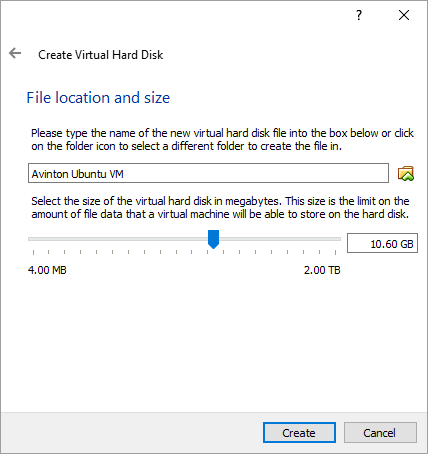
- Create…
Step 4: Install Ubuntu
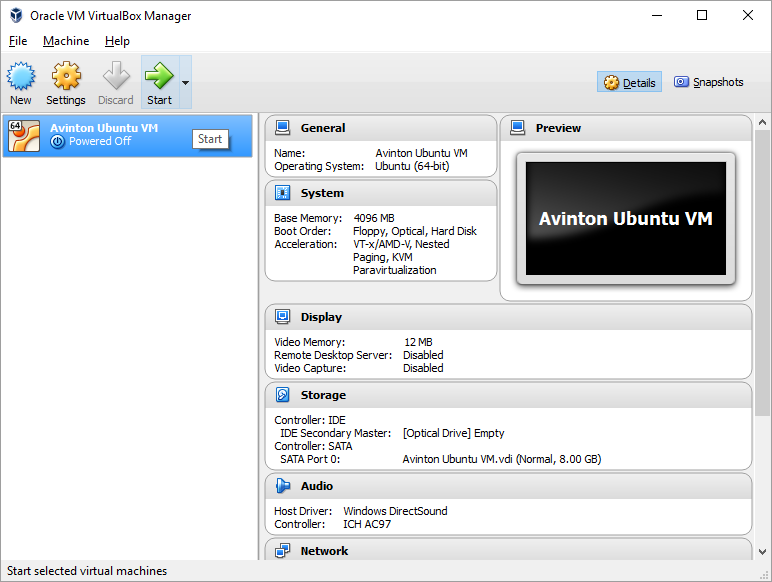
- In VirtualBox, Start the Virtual Machine we just created
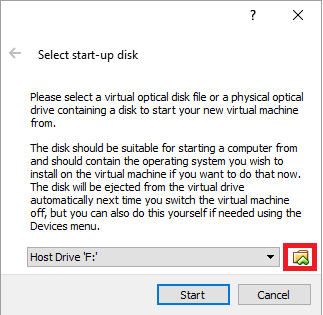
- Select Ubuntu ISO Downloaded in Step 2
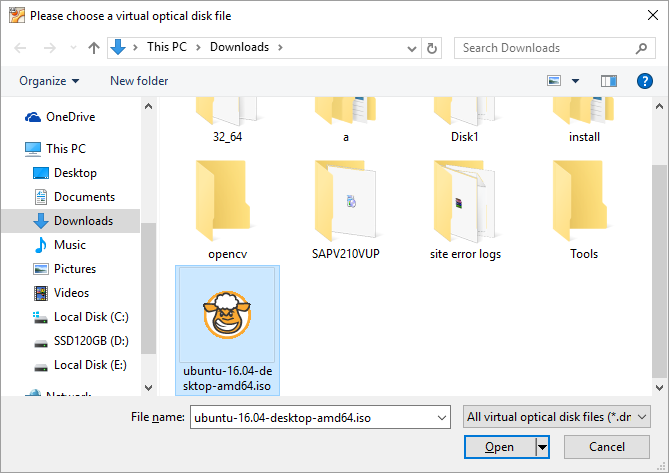
Open
Start
- Select Language & Install Ubuntu
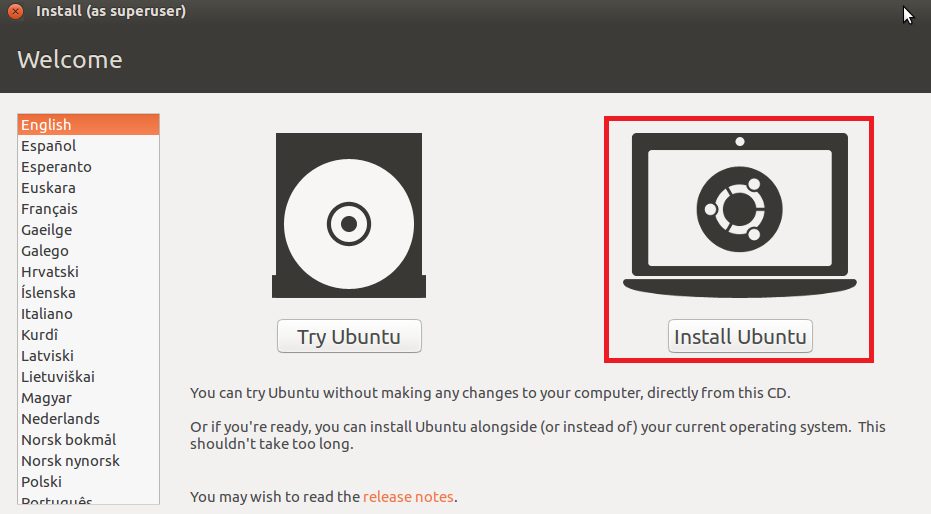
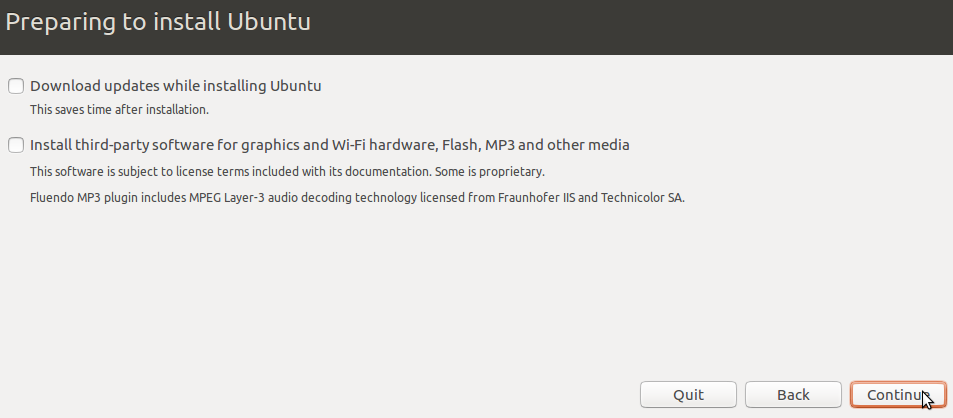
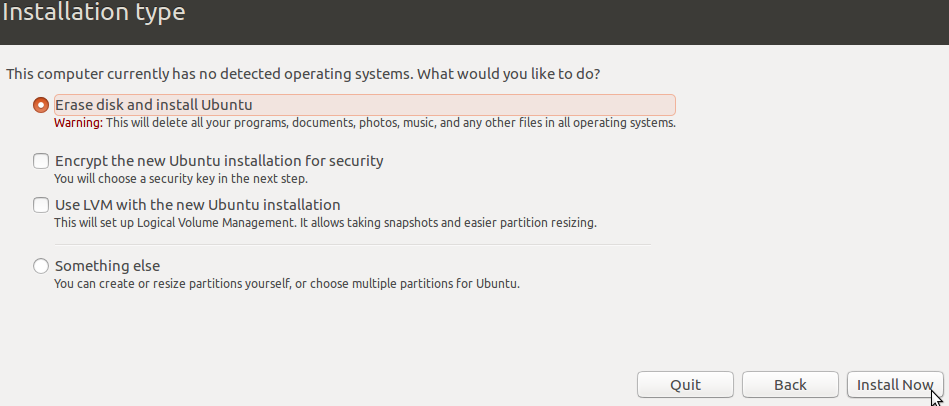
- Install
- Set the location and timezone etc.
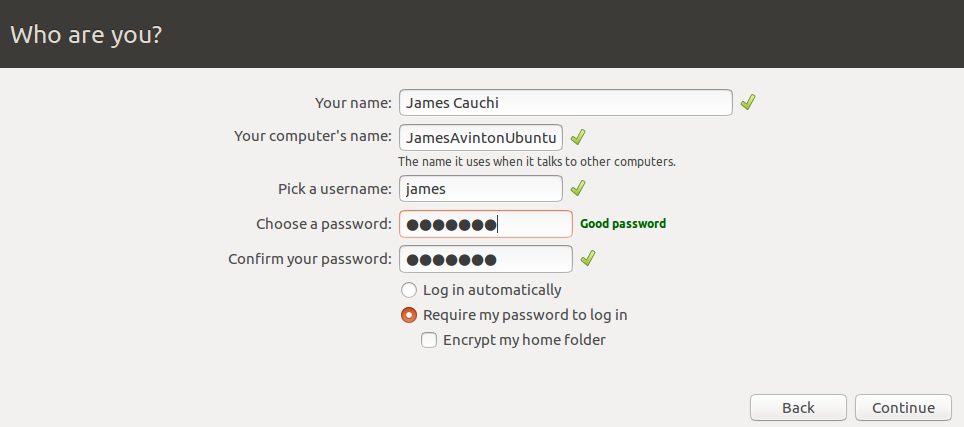
- Set User Details (with your name)
- Power Off the VM
- Select the VM you created – Settings -> Advanced -> Shared Clipboard -> Bidirectional
- Start the VM again and it should boot into Ubuntu
- Login with the user details you created
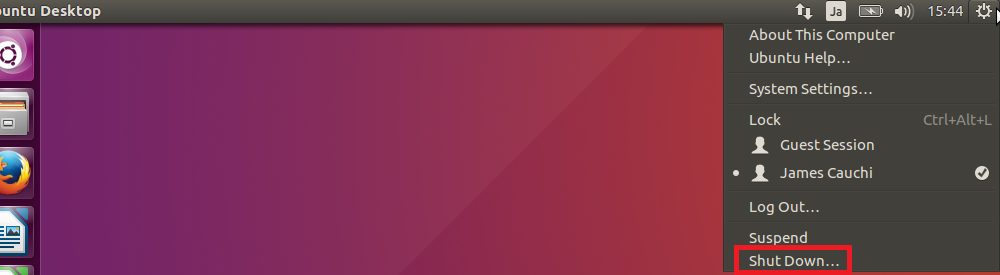
Always shut down the VM when finished